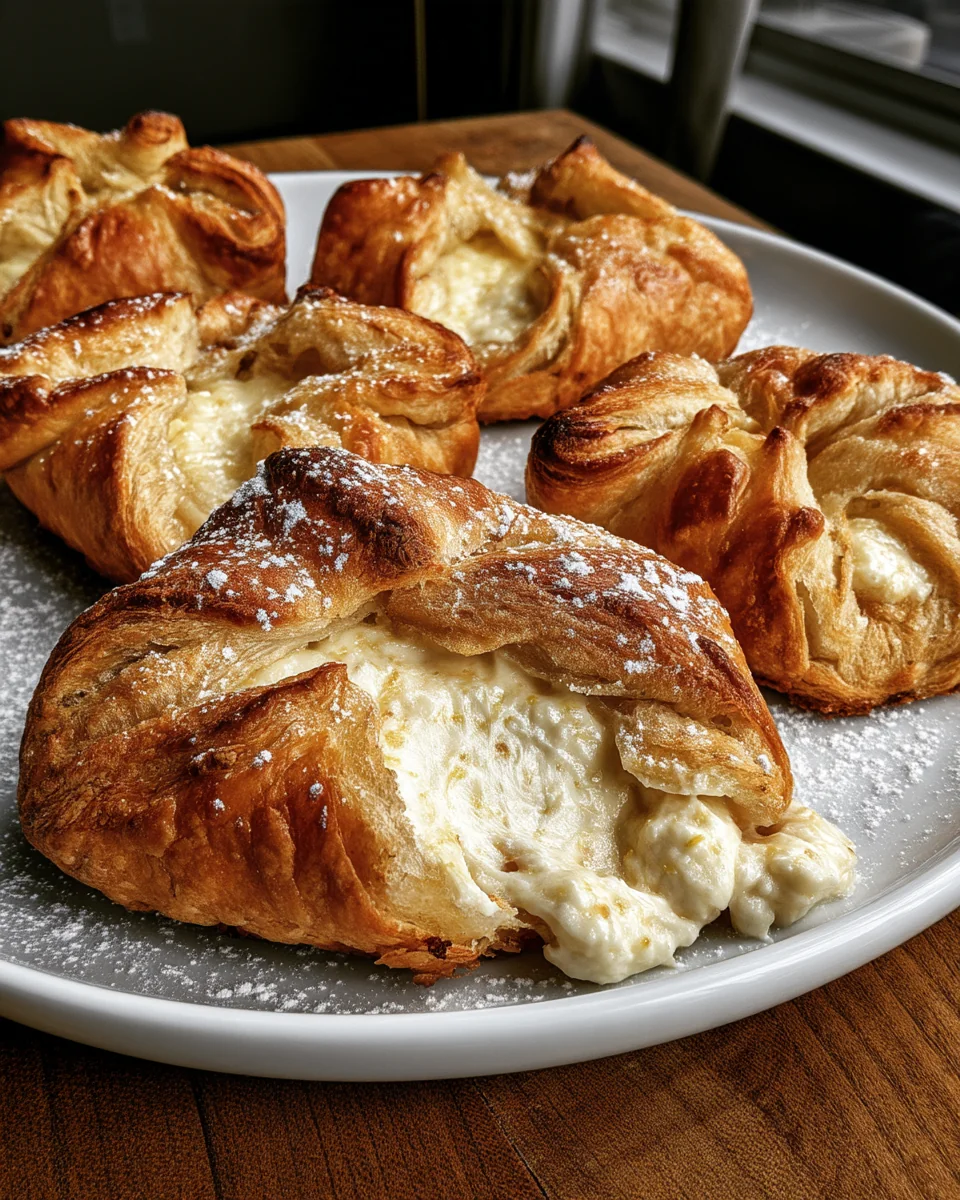
Homemade Ricotta Cheese Danishes with Lemon Zest are a morning treat that strikes a balance between rich creaminess and bright lemon zing. Each flaky layer envelops a tart ricotta filling that feels indulgent yet light, making them perfect for special breakfasts or a cozy weekend brunch. You'll love how the refreshing lemon zest pairs beautifully with the sweet filling, delivering a mouthwatering experience with every bite.
This recipe requires overnight refrigeration to let the dough rest and the butter firm up, yielding a tender, flaky pastry that quick methods simply can’t achieve. If you’re hurried, you can still make these in about six hours, but the overnight method is well worth the wait for the right texture and flavor.
Why You'll Love This Recipe
- Flaky and Tender Layers — Overnight chilling allows the butter to maintain its shape, creating the layers essential for the perfect pastry.
- Bright Lemon Zest — The addition of lemon zest in the filling elevates the flavor, cutting through the richness of the ricotta.
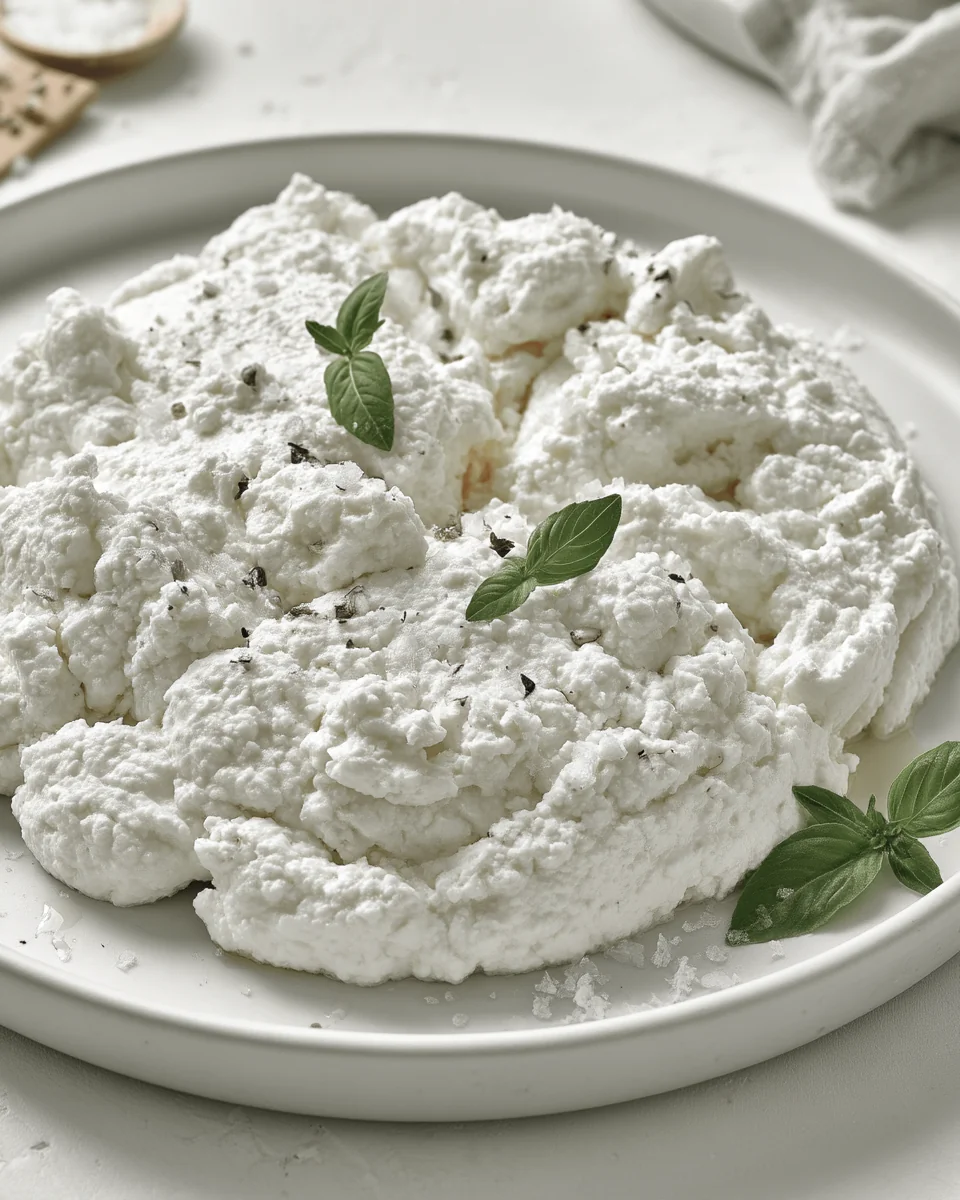
- Homemade Ricotta — Using homemade ricotta gives you a fresher taste and avoids preservatives found in store-bought options.
- Versatile Serving Options — Serve these pastries warm for brunch or at room temperature for an afternoon snack; they do well either way.
- Freezable for Later — You can freeze unbaked pastries for a quick treat down the line, making them perfect for any unexpected guests.
Ingredients & Substitutions
Serves 12-16 pastries
For the Dough
- 1/4 cup (60 ml) warm water — activates the yeast; use hot water for fresh yeast but cool water for rapid-rise yeast.
- 1/2 cup (125 ml) milk at room temperature — adds moisture; substitute with almond milk for a dairy-free option.
- 1 large egg at room temperature — binds the dough; can be replaced with a flax egg (1 tablespoon ground flaxseed + 2.5 tablespoons water) for a vegan version.
- 2 1/4 cups (286 g) all-purpose flour — forms the structure of the dough; bread flour can be used but will yield a chewier texture.
- 1 package (2.25 tsp. | 7 g) instant yeast — helps the dough rise; use active dry yeast for a similar effect but allow for extra proofing time.
- 1.5 teaspoons (6 g) Diamond Crystal kosher salt — enhances flavor; avoid table salt as it can quickly overwhelm.
- 2 tablespoons (25 g) sugar — balances the flavors; brown sugar adds a deeper flavor if preferred.
- 1 cup (250 g) butter, cold and cut into slices — creates flakiness; do not use melted butter, which will alter the texture.
For the Filling
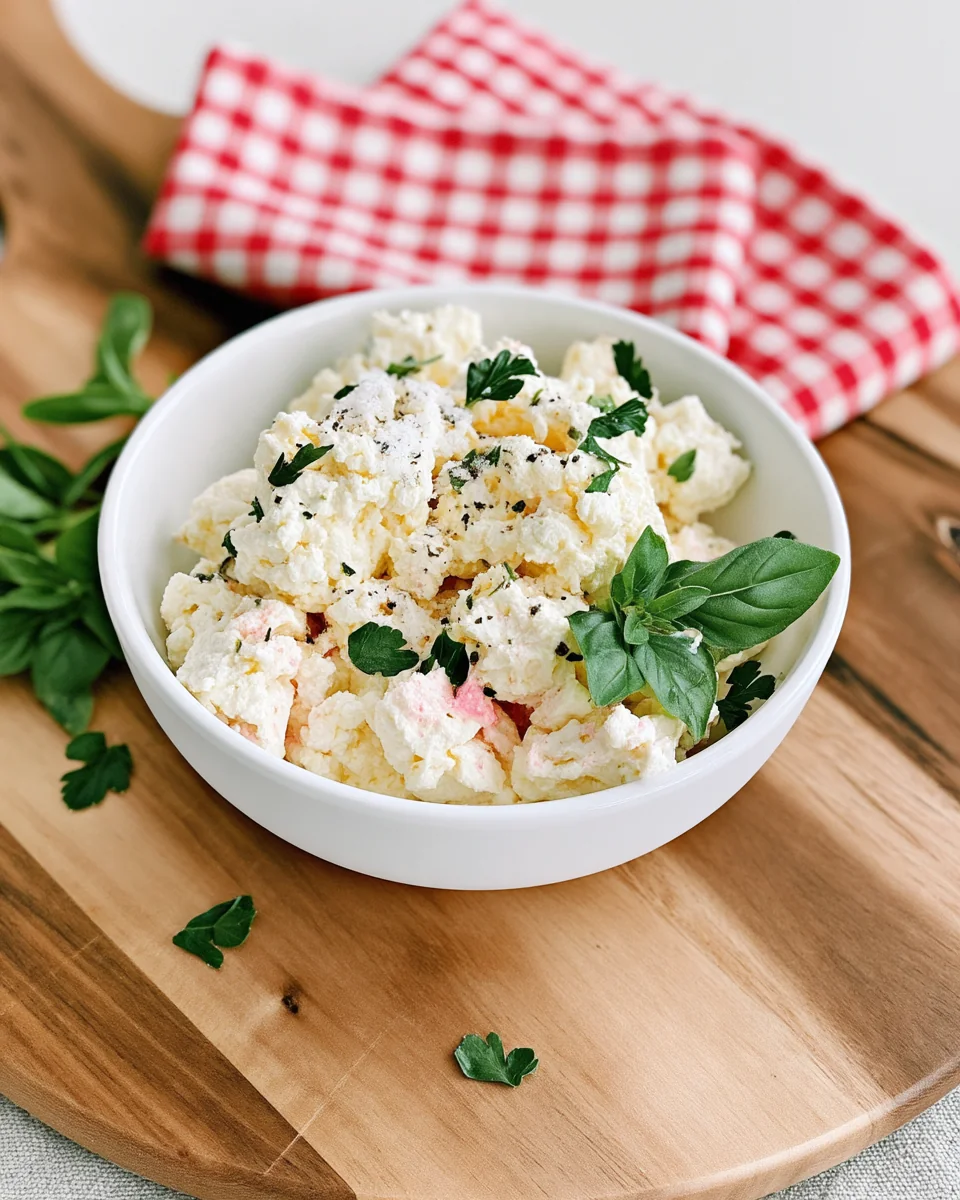
- 1 cup ricotta cheese — the star ingredient; substitute with cream cheese for a richer filling, but this will change the flavor.
- Pinch of salt — enhances the ricotta flavor; avoid over-salting as it can dominate.
- 1 tablespoon lemon zest — adds brightness; substitute with orange zest for a different citrus profile.
- 6 tablespoons sugar — sweetens the filling; can reduce to 4 tablespoons for a less sweet option.
- 1 large egg, beaten — binds the filling; use a flax egg for a dairy-free version.
- 3 tablespoons unsalted butter, melted and cooled — adds moisture and richness; coconut oil can be used for a dairy-free option.
- 1 egg, beaten with 2 tablespoons of milk — for egg wash; skip for a vegan version.
How to Make Homemade Ricotta Cheese Danishes with Lemon Zest
Step 1: Prepare the Yeast Mixture
Combine the warm water and milk in a measuring cup, then add the egg. If you’re using rapid-rise yeast, sprinkle it over the mixture with a touch of sugar. Allow it to sit until frothy, about 5-10 minutes, which indicates the yeast is active.
Step 2: Mix the Dough
In a large bowl placed near your food processor, combine the flour, yeast (only if not mixed with milk), salt, and sugar. Pulse briefly in the processor, then add in the cold butter slices. After processing for about 5 short pulses, you should have visible chunks of butter around 1/2 inch.
Step 3: Combine and Refrigerate
Transfer the mixture into the bowl and pour in the milk-egg yeast mixture. Mix it with your hands until a gooey, uneven dough forms, leaving lumps of butter. Cover with plastic wrap and refrigerate overnight, or for a minimum of two hours if pressed for time.
Step 4: Roll and Fold the Dough
Retrieve the chilled dough, dividing it in half for easier handling. Roll one half into a 20-inch square, then fold it into thirds (like a business letter). Rotate to keep the fold on your left and roll out again into a square. Repeat this folding and rolling two more times for optimal flakiness.
Step 5: Prepare the Filling
While the dough rests for 30 minutes, combine the ricotta, sugar, salt, lemon zest, egg, and melted butter in a bowl until smooth. Ensure every ingredient is incorporated for the best flavor.
Step 6: Shape the Pastries
Roll the pastry into a large rectangle and cut it in half. Divide each half into fourths. Place a generous tablespoon of the ricotta filling on each piece of dough. Fold the corners together, pinching to seal tightly. Arrange on a parchment-lined sheet pan.
Step 7: Rise and Bake
Cover the pastries lightly with a towel and let them rise until puffy for about 1 1/2 hours at room temperature. Preheat your oven to 350°F (175°C) about 30 minutes before baking. Brush the tops with the egg wash before placing them in the oven.
Step 8: Bake the Pastries
Bake the pastries for about 15 minutes, or until they are puffy and golden brown. You can tell they’re done when they spring back lightly to the touch and are nicely browned. Transfer to a wire rack to cool before serving.
How to Serve Homemade Ricotta Cheese Danishes with Lemon Zest
Homemade Ricotta Cheese Danishes with Lemon Zest are best enjoyed fresh from the oven, but they are surprisingly versatile. Whether you're serving them for brunch or an afternoon snack, the way you present these pastries can enhance the experience. Consider the following serving ideas and accompaniments to complement these delightful pastries.
Serving Ideas
- Warm from the oven — Allow them to cool for about 10 minutes after baking, then serve them warm. This temperature brings out the flaky texture and melty filling that makes them irresistible.
- Platter presentation — Arrange the Danishes on a large flat platter or a rustic wooden board. This not only looks inviting but also allows guests to appreciate their golden-brown tops and flaky layers.
- Individual servings — For a more personal touch, serve each pastry on a small plate with a dollop of fresh whipped cream. This adds a lovely contrast and elevates the overall presentation.
- Catch the steam — Using a cooling rack will help keep the bottoms crisp. If you stack them, steam can make them soggy, so give them room to breathe while they cool.
What to Serve Alongside
- Fresh berries — The tartness of raspberries or strawberries balances the sweetness of the danishes, providing a fresh contrast.
- Greek yogurt — Its creamy texture adds richness while cutting the sweetness, creating a balanced bite with the danishes.
- Coffee — A bold brew offers a bitter note that complements the rich flavors of the pastries, making it a classic pairing.
- Citrus salad — A mix of oranges and grapefruits adds a refreshing acidity that brightens up the whole meal and complements the lemon zest.
- Honey drizzle — Drizzling a little honey on top enhances the sweetness while providing a luxurious finish to each bite.
- Nutty granola — The crunch of granola contrasts nicely with the soft pastry and adds a satisfying bite.
 Pin it
Tips for the Best Homemade Ricotta Cheese Danishes with Lemon Zest
To ensure your Homemade Ricotta Cheese Danishes turn out perfect every time, keep the following tips in mind. They are designed to address common pitfalls and elevate your baking experience.
- Chill the dough overnight — Taking the time for an overnight rest allows the butter to harden. This creates distinct layers that result in a flaky texture when baked, which quick methods often miss.
- Leave visible butter chunks — When processing the dough, stop when the butter is about half an inch wide. This will create pockets of steam during baking, leading to a lighter pastry.
- Avoid over-mixing the dough — Mix until just combined, which should take about 20 seconds. Overworking the dough leads to gluten development, making the pastry tough instead of flaky.
- Monitor the rise time — Let the pastries rise until they are puffy, which takes about 1.5 hours. If they feel firm, give them a little more time; under-proofed dough can yield denser pastries.
- Bake until golden brown — Look for a deep golden hue on top, which typically takes about 15 minutes at 350°F (175°C). This color indicates that the pastry has reached its ideal texture and flavor.
- Store correctly — Keep the Danishes in an airtight container at room temperature for up to three days. Refrigerating can dry them out, causing a loss of that delightful flakiness.
- Use a sharp knife for cutting — When portioning the dough after it’s rolled out, a sharp knife will ensure clean cuts. This helps maintain the structure and prevents tearing the delicate layers.
How to Store Homemade Ricotta Cheese Danishes with Lemon Zest
Homemade Ricotta Cheese Danishes with Lemon Zest keep best at room temperature in an airtight container for up to 3 days. This storage method helps maintain their flaky texture and prevents drying out, which can happen in the refrigerator.
Room Temperature
- Keeps for up to 3 days.
- Store in an airtight container to lock in moisture.
- Check for dryness or a stale taste; they should remain soft and flaky.
Refrigeration
- Not recommended, but if necessary, you can refrigerate for up to 2 days.
- Use an airtight container to minimize moisture loss.
- Look for a dry texture or a hard outer layer; these are signs that the pastries have gone stale.
Freezing Homemade Ricotta Cheese Danishes with Lemon Zest
- Can be frozen for up to 2 months.
- Wrap each pastry tightly in plastic wrap or foil, then place them in a freezer-safe bag.
- If they develop ice crystals or freezer burn, they'll lose quality when thawed.
Reheating Homemade Ricotta Cheese Danishes with Lemon Zest
- Preheat the oven to 350°F (175°C).
- Bake for 10 minutes or until warmed through and slightly crisp on the outside.
- Pastries should feel soft inside and have a fresh texture when done.
Frequently Asked Questions
Here are some common questions about making Homemade Ricotta Cheese Danishes with Lemon Zest.
Can I make Homemade Ricotta Cheese Danishes with Lemon Zest ahead of time?
Yes, the dough can be prepared and refrigerated overnight. This allows the flavors to meld and the butter to solidify, creating the flaky texture essential for good danishes. You can also freeze the baked pastries for later enjoyment.
Why did my Homemade Ricotta Cheese Danishes with Lemon Zest turn out dense?
If your danishes turned dense, it could be due to overmixing the dough, which develops gluten. Stick to gently mixing until wet and dry ingredients are just combined. Also, ensure your yeast is active to allow for proper rising.
Can I halve the recipe for Homemade Ricotta Cheese Danishes with Lemon Zest?
Yes, you can halve the recipe easily. Just cut all amounts in half, and the process will remain the same. This is perfect if you're looking to make fewer pastries for a smaller gathering.
Do Homemade Ricotta Cheese Danishes freeze well?
Yes, they freeze well for up to 2 months. Wrap each danish individually before placing them in a freezer-safe bag to ensure they stay fresh. Thaw in the refrigerator overnight before reheating.
What pan can I use instead of a sheet pan for baking Homemade Ricotta Cheese Danishes with Lemon Zest?
If you don’t have a sheet pan, a baking dish or a pizza stone can work in a pinch. Ensure whatever you use is lined with parchment paper to prevent sticking and promote even baking.
Final Thoughts
These Homemade Ricotta Cheese Danishes with Lemon Zest offer a delightful and versatile option for breakfast or brunch. Their flaky, buttery layers combined with a zesty filling make them truly special. Feel free to customize the filling with different zest or fruits to suit your taste. Give them a try and enjoy the homemade goodness!