Homemade Ricotta Cheese
Serves 14 ounces (approximately 1 3/4 cups)
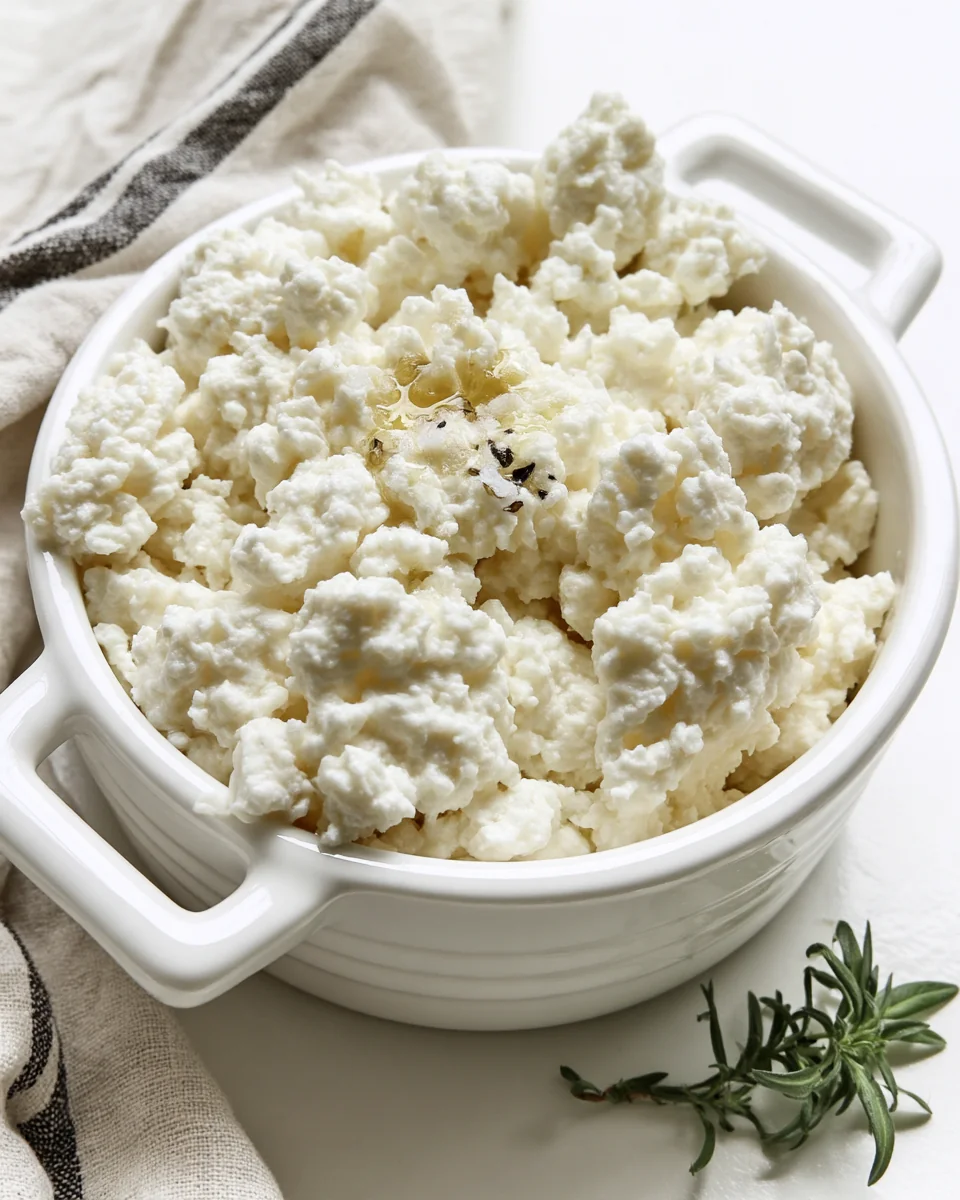
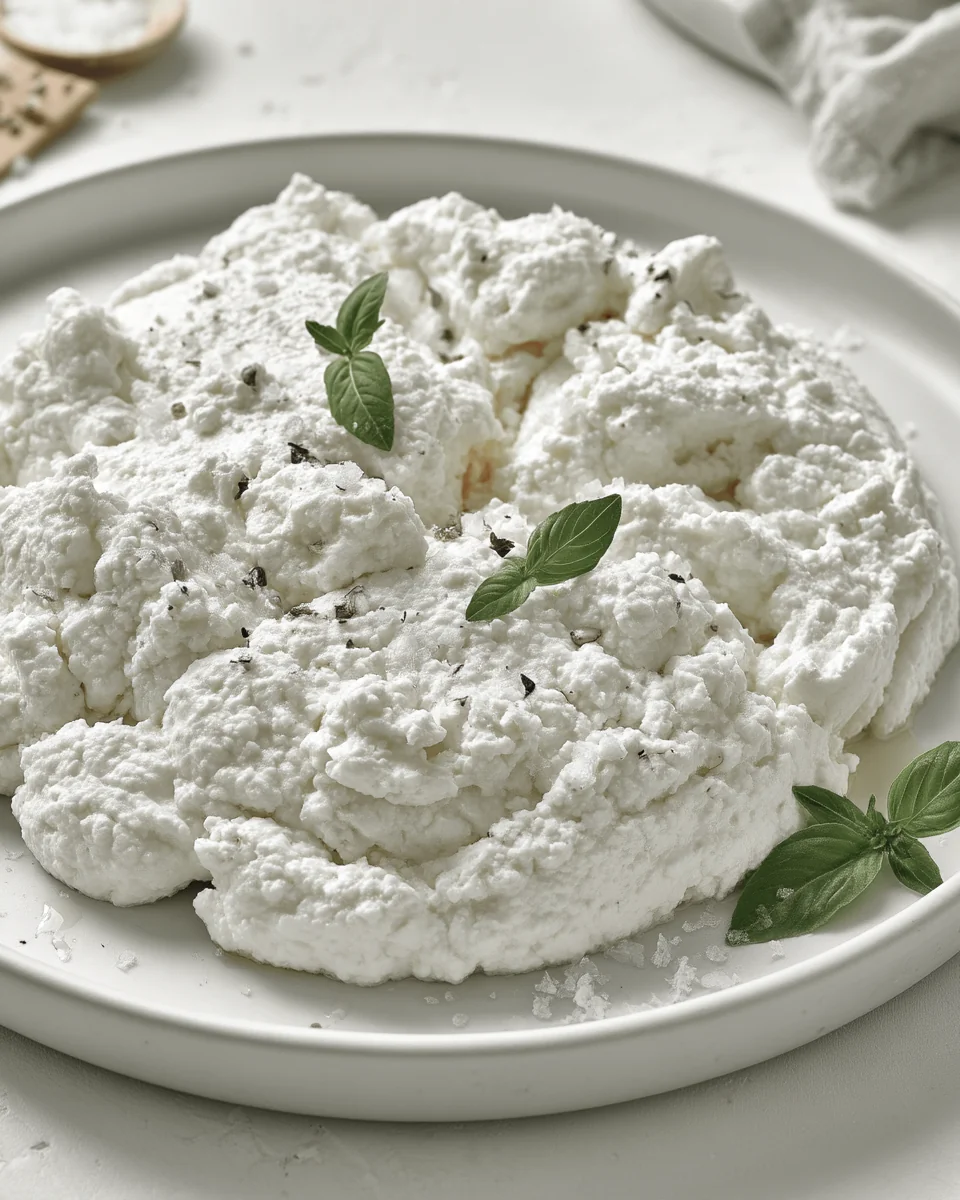
Making ricotta cheese from scratch is a surprisingly simple process that results in a creamy and fresh cheese that's unlike anything store-bought. When done right, the texture is fluffy and moist, perfect for spreading on toast, dolloping into pasta, or mixing into desserts. It’s an ideal project for a lazy afternoon or when you're preparing a special meal.
This recipe focuses on slowly bringing the milk to just 200°F, which prevents scorching—a mistake that can impart off-flavors and a gritty texture to your ricotta. By paying attention to temperature, you ensure that your homemade ricotta turns out smooth and delicious every time.
Why You'll Love This Recipe
- Fresh flavor — Making homemade ricotta allows you to enjoy the cheese at its peak, delivering a bright and milky taste.
- No preservatives — When you make ricotta cheese from scratch, you skip the extra preservatives often found in store-bought versions.
- Control over texture — Adjust how much whey you drain based on your preference for creaminess; a little moisture keeps it delectable.
- Close to zero waste — By using only four basic ingredients, this recipe makes use of what you have without any unnecessary extras.
Ingredients & Substitutions
For the Ricotta
- 1/2 gallon whole milk — whole milk provides the creaminess essential for ricotta; avoid using low-fat milk, as it yields a drier cheese.
- 1/3 cup fresh lemon juice — the acidity helps in curdling the milk; if you don’t have lemon juice, apple cider vinegar (1/8 cup) works well too.
- 1/2 teaspoon citric acid — enhances the curdling process. If you don’t have citric acid, you can skip it, but your cheese may lack some tang.
- 1 teaspoon salt — salt adds flavor; you can reduce the amount based on your dietary needs or skip it for a sweet ricotta.
How to Make Ricotta Cheese From Scratch
Step 1: Prep Milk
Take the milk out of the fridge and allow it to come to room temperature, which takes about 10-30 minutes. This helps in bringing the milk up to heat gradually.
Step 2: Heat Milk
In a large pot over medium heat, pour in the milk and heat it slowly to 200°F (93°C). This should take about 12-15 minutes. Stir gently to prevent the milk from sticking to the bottom of the pot; you'll know it's ready when you see steam and tiny bubbles forming around the edges without boiling.
Step 3: Curds and Whey
Once the milk reaches 200°F, remove it from the heat. Add the lemon juice, citric acid, and salt, and give it a gentle stir. Let it sit undisturbed for 10 minutes. You’ll start seeing curds forming – they will look like small clumps separating from the transparent whey.
Step 4: Prep Cloth/Let Curds Set
Line a sieve or colander with a cheesecloth and place it over a tall pot to catch the whey. Ensure the cloth fully covers the sieve, allowing for easy gathering of the curds.
Step 5: Separate Curds
After 10 minutes, check for curd formation. Use a spoon to gently pull the curds apart from the whey. With a slotted spoon, begin ladling the curds onto the prepared cheesecloth. Be patient and allow the whey to drain. Add more curds slowly, letting the whey escape naturally.
Step 6: Drain
When most of the larger curds are scooped out, slowly pour the remaining mixture into the cheesecloth. Avoid overfilling it. Gently move the curds around to allow the remaining whey to drain.
Step 7: Squeeze
Once drained, gather the edges of the cheesecloth and give it a gentle twist. Squeeze lightly to release more whey, but keep enough moisture for a creamy ricotta.
Step 8: Enjoy!
Transfer the fresh cheese to a bowl. You can use it immediately, or cover it and store it in the fridge for up to a week. This ricotta is best enjoyed with some retained moisture for that dreamy texture!
How to Serve Ricotta Cheese From Scratch
Homemade ricotta cheese is a versatile ingredient that can elevate various dishes. It can be enjoyed on its own, spread on bread, or incorporated into savory and sweet recipes. Understanding the best ways to serve it can enhance your dining experience.
Serving Ideas
- Serve warm for a creamy texture — Enjoy ricotta still warm, letting it rest for 10 minutes after draining. This keeps it creamy and enhances its flavor.
- Use a shallow bowl for presentation — Placing ricotta in a shallow bowl helps with scooping and allows for easy topping with sauces or fresh herbs.
- Pair with crusty bread or crackers — Serve on a wooden board with toasted bread or crackers; the crunch contrasts with the smoothness of the cheese.
- Perfect for brunch or casual gatherings — Ricotta shines at brunch events; serve it alongside fruit and honey for a light yet satisfying addition.
What to Serve Alongside
- Honey — The sweetness of honey balances the mild flavor of ricotta, making for a delightful topping.
- Charcuterie — A selection of cured meats provides a savory contrast to the cheese's creaminess, enhancing the overall taste experience.
- Fresh herbs (like basil or mint) — Adding fresh herbs brings brightness and freshness that lifts the rich creamy texture of the ricotta.
- Olive oil drizzle — A drizzle of high-quality olive oil adds depth and a fruity note, complementing the cheese’s smoothness.
- Tomatoes — Juicy, ripe tomatoes add acidity, which balances the richness of the ricotta and brightens the dish.
- Balsamic vinegar — A splash of balsamic vinegar introduces a tangy bite that cuts through the creaminess, creating balance on the palate.
 Pin it
Tips for the Best Ricotta Cheese From Scratch
Making ricotta at home is simple, but a few tips can help you achieve the best results. Pay attention to these details to avoid common pitfalls.
- Heat the milk slowly to avoid scorching — Bringing milk to 200°F gradually takes about 12-15 minutes; it’s crucial to prevent burning that ruins the taste.
- Ensure curds form properly — After adding lemon juice or vinegar, wait for 10 minutes. You’ll see curds separate clearly from the whey. If they don’t, the milk may not have been hot enough.
- Use cheesecloth to catch every drop — Line your sieve with cheesecloth, ensuring it is wide enough to hold the curds. This prevents any annoying spills and allows for easier draining.
- Squeeze gently to retain moisture — When gathering the cheesecloth to drain, do not wring it hard. A gentle squeeze helps keep some whey for a creamy texture, preventing a dry cheese.
- Drain properly for the right consistency — Pour off whey gradually to maintain a creamy texture. You want to keep enough whey so it’s not overly dry.
- Store properly to maintain freshness — Keep ricotta in an airtight container in the fridge. To retain moisture, don’t drain it completely; this keeps it nice and creamy for up to a week.
- Check for curd firmness before serving — Use a slotted spoon to check the curds. They should be soft yet hold their shape, reflecting the right texture for fresh ricotta.
How to Store Ricotta Cheese From Scratch
Homemade ricotta cheese keeps best when stored in the fridge in an airtight container for up to a week. Keeping it chilled helps maintain its creamy texture, which can be lost if it sits out at room temperature.
Refrigerator
- Store in: An airtight container to prevent moisture loss.
- Keeping time: Up to 1 week.
- Signs of spoilage: An off smell, discolored spots, or a dry texture indicate it's time to discard it.
Freezing Ricotta Cheese From Scratch
- Store in: A freezer-safe container, leaving some space for expansion.
- Keeping time: Up to 2 months in the freezer.
- Signs of spoilage: Ice crystals inside the container or freezer burn indicates loss of quality.
Room Temperature
It's best not to keep ricotta out at room temperature, as it can spoil quickly. The moisture content in ricotta makes it prone to bacteria growth if left unrefrigerated.
Frequently Asked Questions
Can I make Ricotta Cheese From Scratch ahead of time?
Yes, you can make it a day in advance. Just store it in an airtight container in the fridge once it has cooled down for better texture.
Why did my Ricotta Cheese From Scratch turn out dense?
If your ricotta is dense, it may be due to not letting the curds drain enough or using milk with higher fat content. Gently ensure you ladle curds onto the cheesecloth and allow time for whey to drain.
Can I halve the Ricotta Cheese From Scratch recipe?
Yes, you can easily halve the ingredients to make a smaller batch. Just use 1/4 gallon of milk, 3 tablespoons of lemon juice, and adjust the other ingredients accordingly.
Does Ricotta Cheese From Scratch freeze well?
Yes, it freezes well, but for the best results, keep some moisture in the cheese before freezing to maintain texture.
What pan can I use instead of a large pot for Ricotta Cheese From Scratch?
You can use any large, heavy-bottomed saucepan to prevent scorching the milk while heating it. Just make sure it's deep enough to hold the milk comfortably.
Final Thoughts
Making ricotta cheese from scratch is a simple and rewarding culinary adventure. Its creamy texture and fresh flavor can enhance many dishes, from pastas to desserts. Feel free to customize your ricotta with herbs or spices, and enjoy the satisfaction of creating your own cheese at home. Give it a try; you might never buy store-bought ricotta again!